
Bot Application Setup
Creating your bot
Open the Discord developer portal and log into your account.
Click on the "New Application" button.
Enter a name and confirm the pop-up window by clicking the "Create" button.
You should see a page like this:
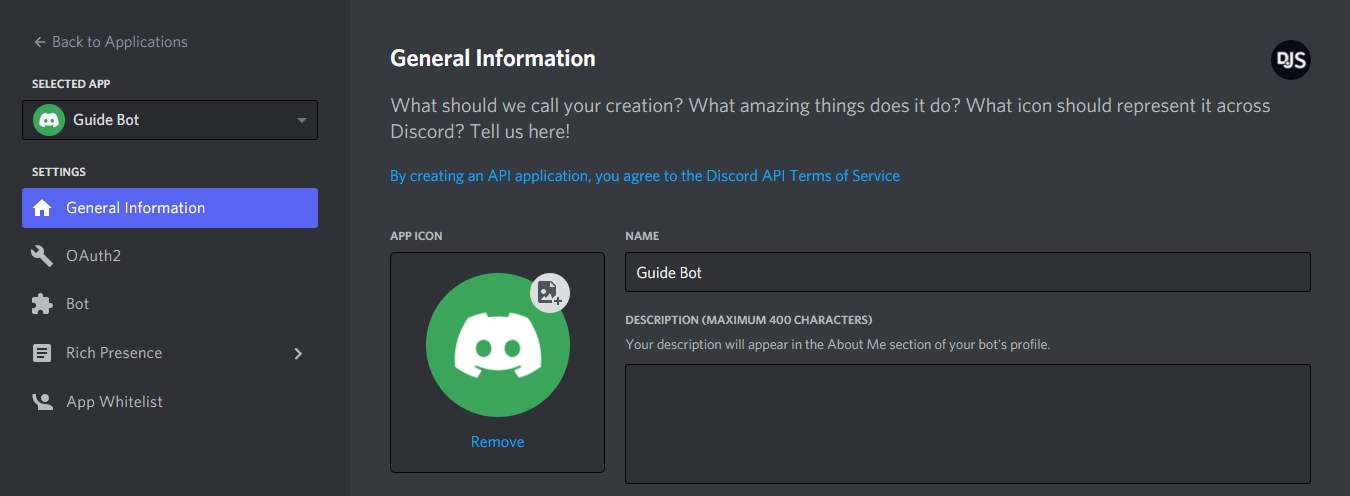
You can edit your application's name, description, and avatar here. Once you've saved your changes, move on by selecting the "Bot" tab in the left panel.

Click the "Add Bot" button on the right and confirm the pop-up window by clicking "Yes, do it!"
Your token
This section is critical, so pay close attention. It explains what your bot token is, as well as the security aspects of it.
This section is critical, so pay close attention. It explains what your bot token is, as well as the security aspects of it.
After creating a bot user, you'll see a section like this:

In this panel, you can give your bot an avatar, set its username, and make it public or private. You can access your token in this panel as well, either by revealing it or pressing the "Copy" button. When we ask you to paste your token somewhere, this is the value that you need to put in. Don't worry if you do happen to lose it at some point; you can always come back to this page and copy it again.
‼️ Turn on intents.

Last updated